We are well into the beginning of a new year, and in honor of
that, our monthly challenge for January has been
Birthday Wishes. We'd love for you to play along with us, and link your
creations to the Inlinkz tool at the bottom of this post, or on the
Dream It Up! blog, for a chance to win the stencil of your choice...and
remember, using Dreamweaver products gets you bonus points towards an
extra stencil!
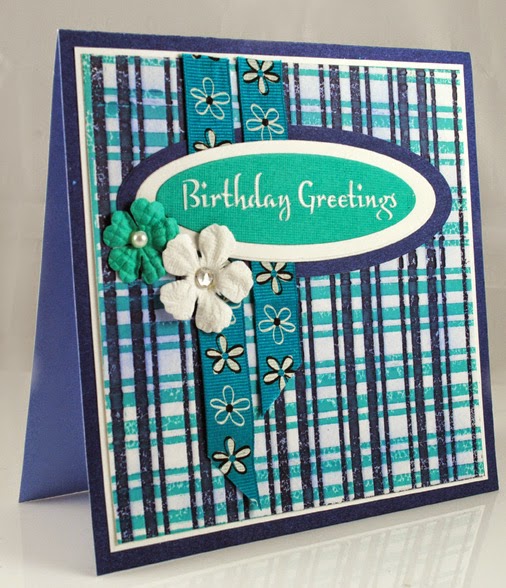
Here's my birthday wish for this week:

 Creating your own patterned paper is so simple when you have Dreamweaver stencils! The purple panel was completed in opposite techniques...on the bottom, Memories Mists Grape was sprayed through the Dogwood Pattern stencil, and in an effort to not waste the ink sitting on the stencil, the top portion of the panel was placed on the wet stencil to transfer the ink. The Dreamweaver Apron Die was cut from the center to be used on another card, but I didn't want to waste the rest of my beautiful background. So I sprayed through the Leopard Spots stencil with Mango Lemonade Memories Mist onto a square of yellow cardstock. Once the corners were rounded, I placed the yellow panel behind the negative cut portion of the purple panel, and adhered both to my white card. I finished off this birthday card with a sentiment stamped in purple on a corrugated banner piece, added a May Arts' ribbon bow, buttons, and ric rac. What a fun card for any female...friend, mother, sister, aunt, or grandmother.
 For more birthday ideas, check out the team links below:
Here's my birthday wish for this week: